


In order to be able to bulk import your student/staff photos into SchoolWise you have to download them first.
1. Login to the Lifetouch Portal here https://portal.lifetouch.com/
2. Click on the IMAGE & DATA MANAGEMENT page and click on the Select All text just above and to the right of the first picture. Once you do this you will notice a checkmark in a circle appear on each photo (as seen in the example below)

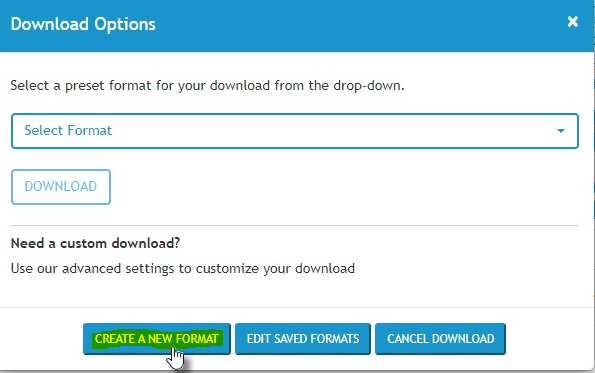
3. Click on the Blue box pulldown menu that says Available Action and choose Download.

4. If you haven't already setup a SchoolWise format, please click on the Create a New Format button.
5. Under Customize Images set the JPEG compression to 100, make sure that the Include Images in download is checked and change the Size to Larger size. Nothing needs to be changed under Image filename and components. It should look like the example below:

6. Under Customize Data Download make sure that Include data in download is checked. Next locate Image Name under the Available fields and click the Arrow to move it to the Fields to include list. Be sure to UN-CHECK Wrap data and Include headers. Lastly, change the File type to CSV and then edit the Data file name to read data.csv or data.txt. It should look like the example below:

7. Under Specify folder options there is nothing to change. Lastly, set a name for the download under Format Name and a Label then click on Save Format.

The new format that you created will now be available to you to choose when you Select ALL again and then choose Download Options.

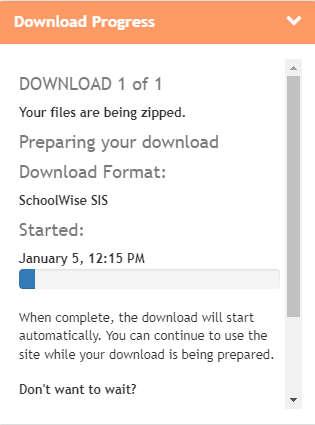
8. Once you go back to the IMAGE & DATA MANAGEMENT page and click on the Select All then choose the newly created format SchoolWise SIS - click on the DOWNLOAD button. When you do a new process begins and you will notice an orange progress bar, wait for that to complete.
9. In most cases it will save the file to your default download folder. If you are unsure of where the file has been saved press CTRL + J to see a list of your most recent downloads. You will be looking for the zip file named (data.zip) Click on Show in folder to locate that file.

10. Once you locate the (data.zip) file you will need to extract it's contents to a New folder on your computer. Right click on the file and choose Open With - Windows Explorer.

11. Hold down the CTRL button and Left click to select each folder - then Right click and choose Copy.

12. Now navigate to the folder that wish to save the these in and Right click Paste. You should have two files in the folder that you pasted into. You are now ready to import your pictures into SchoolWise.
